Ceiling mould can be a persistent and unsightly problem in many homes. Not only does it detract from the appearance of the room, but it can also pose health risks if left untreated. In this article, we will discuss the causes of ceiling mould, how to prevent it, and the steps to take for effective removal.
1. Introduction
Ceiling mould is a common issue caused by excess moisture and poor ventilation in indoor spaces. It thrives in damp, dark environments, making bathrooms, basements, and kitchens particularly susceptible areas.
2. Understanding Ceiling Mould
1. What causes mould on ceilings?
Mould growth on ceilings is primarily caused by moisture buildup. This can result from various factors such as water leaks, inadequate ventilation, high humidity levels, or condensation.
2. The dangers of ceiling mould
Aside from being unsightly, ceiling mould can lead to respiratory problems, allergies, and other health issues, especially for individuals with weakened immune systems. It can also damage the structural integrity of the ceiling if left unchecked.
3. Prevention of Ceiling Mould
1. Proper ventilation
Ensuring good airflow in your home is crucial for preventing mould growth. Install exhaust fans in bathrooms and kitchens, use ceiling fans to circulate air, and keep windows open whenever possible to reduce humidity levels.
2. Controlling humidity levels
Invest in a dehumidifier to maintain optimal humidity levels indoors, typically between 30% to 50%. Use air conditioners during humid weather and avoid drying clothes indoors to minimize moisture buildup.
3. Regular inspection and maintenance
Check for leaks in the roof, plumbing, or around windows regularly, and repair any issues promptly. Keep gutters clean to prevent water from accumulating near the house, and ensure proper insulation to prevent condensation.
4. Removing Ceiling Mould
1. Equipment and materials needed
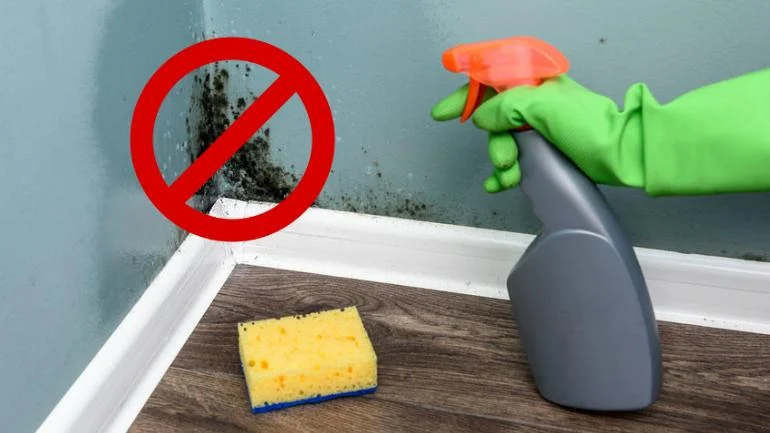
Before starting the removal process, gather protective gear such as gloves, goggles, and a mask. You will also need cleaning supplies like bleach, vinegar, a scrub brush, and a ladder if the mould is on high ceilings.
2. Step-by-step removal process
Begin by isolating the affected area and sealing off the room to prevent mould spores from spreading. Scrub the mouldy surface with a mixture of water and detergent, then apply a solution of bleach or vinegar to kill remaining spores. Rinse thoroughly and dry the area completely.
5. Cleaning and Restoration After Mould Removal
1. Cleaning techniques
After removing mould, clean surrounding surfaces and furnishings to eliminate any remaining spores. Use a HEPA vacuum to capture airborne particles, and wash fabric items in hot water with detergent.
2. Restoring damaged surfaces
Inspect ceilings for any structural damage caused by mould, such as peeling paint or weakened materials. Repair or replace affected areas as needed, and consider applying mould-resistant paint to prevent future growth.
6. Professional Help
1. When to call a professional
If the mould infestation is extensive or if you’re unsure about tackling the removal process yourself, it’s best to seek professional assistance. They have the expertise and equipment to handle large-scale mould remediation safely and effectively.
2. Finding the right mould removal service
When hiring a mould removal company, look for certified professionals with experience in dealing with mould issues. Ask for references, inquire about their methods and guarantees, and ensure they comply with safety regulations. Additionally, if you’re specifically seeking assistance with ceiling mould removal in Auckland, make sure to mention this requirement during your search and evaluation process.
Conclusion
Ceiling mould can be a persistent problem, but with proper prevention and timely removal, it can be effectively managed. By addressing the root causes of mould growth and following appropriate removal techniques, you can maintain a healthy and mould-free environment in your home.