Here are some tips that may help you when talking to your next flooring contractor.
Puncture a Floor
It means that the nails are pushed down beneath the surface of timber. This prevents the nails from damaging the sandpaper. It also allows the flooring contractor to hide nails with colour-matched filler.
Chatter Marks
After sanding, chatter marks appear as fine corrugations in the wood floor surface. Reflected light makes them more visible. This is not an attractive look. They are usually caused by inferior sanding machines. Due to the design of old ‘drum sanders’, they will leave chatter marks. The sandpaper is wrapped around the drum. There is a depression at the point where the ends meet. This can cause vibration. When using a belt sander of high quality, vibration can cause chatter marks. It is often because the flooring contractor did not balance or set up their machine correctly.
Ghosting
The term “ghosting” is used to describe specific,’ milky white’ marks. Over time, they appear on a small number of floors. They are often in the form of a foot print. Other patterns and smudge marks of various shapes or sizes are also common. Sometimes, it can take many years before they suddenly appear. This problem seems to be more common where sunlight is in direct contact with the coating. For example, just inside doorways. The West Auckland Timber Flooring Association conducted extensive research into the issue. They are not sure why this happens.
Rejection
The rejection of a coating is the “rejection” during or shortly after application. The coating will not adhere or take to a particular spot or area on a floor. It can be caused by a spillage, or previous cleaning products used on the flooring. Cleaning fluids that are incompatible will seep between the floorboards. The new coating can ‘roll’ away from the board edges. The coating can be treated with anti-rejection liquid by a flooring contractor. This will reduce or eliminate this problem.
Cupping
The shape of the boards on the surface is what we call ‘cupping. The floorboards that are “cupped” will have a concave appearance. This is caused by excessive moisture being absorbed into the boards. A flooring contractor may be able to sand floorboards at an angle in order to correct the problem. It is important to do this after you have resolved the moisture issue.
Edge Bonding
The side edges of floorboards can be glued together when they are coated. The coating can bridge the gap when it’s a tight joint. Some floors, particularly new ones, can have a problem with edge bonding.
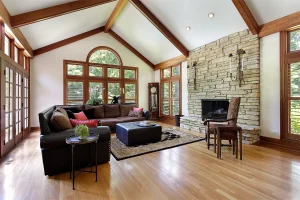
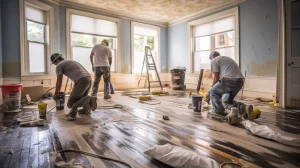
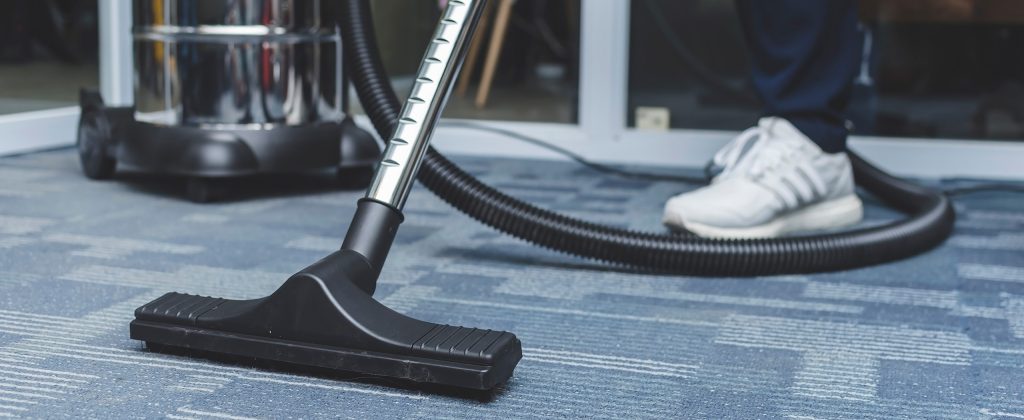
Re-sanding Flooring
Re-sanding, a crucial step in floor maintenance, involves the meticulous process of stripping a floor back to its raw wood state. This comprehensive method not only eliminates an existing coating but also addresses surface damage, such as deep scratches and dents. For top-notch floor sanding services in West Auckland, trust professionals who excel in the art of re-sanding to breathe new life into your wooden floors. With their expertise, your floors will undergo a transformation, revealing the natural beauty of the wood beneath.
Polishing a floor
Polishing timber floors is simply applying a surface coating. This is sometimes confused with applying an enhancer (like wax) to a finish and then using a rotating motion.
Recoat flooring
Here is a new topcoat being applied. This is a maintenance coat that can be used to renew an old polished floor. Recoating is a way to remove minor scratches and minor scuffing.
Uprights and stringers
The components of a staircase are the treads. You walk on the treads. Stringers run vertically up and down both sides of the staircase. When you walk on the treads, your toes will point at the uprights.
Curing
The final coat will dry and harden completely after it is applied. It takes between 12 and 14 hours for the final coat to dry. During the winter, this time period may be extended. After this, the curing process begins. You can usually walk on the coating the next day. The coating will be hard enough after 48 hours to allow you to return your furniture. It will take 60-90 days for the coating to cure and harden.